Business Card (Landscape) - Activity #4
Making your own business card with landscape background!
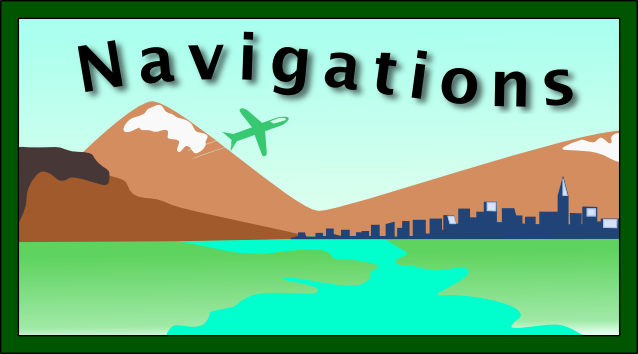
Lots of Layers! Awesome detail!For this activity, you will create a business card with a landscape background.
Please follow the videos below as you build this activity. |
Activity #4
|
Setup... |
First, if you've never used Layers in Inkscape, then watch this videoI've added this video to show:
(This video is just a demonstration of layers and is not part of assignment #4.) |
|
#1. Building a BorderStart with a border that will hide our imperfections.
First, set the document up: --> File ----> Document Properties ------> "mm" (top dropdown) ------> "US Legal" ------> "Landscape" (then exit the popup window) 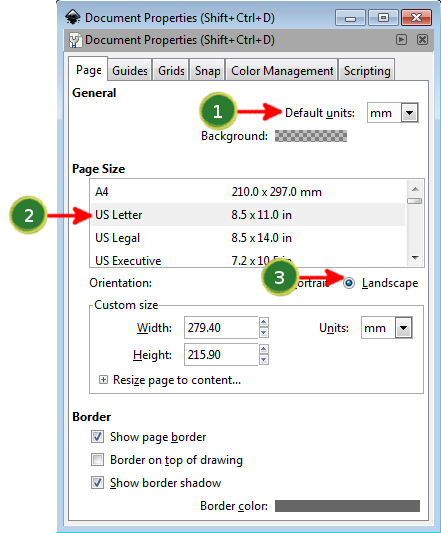
Document Properties Popup
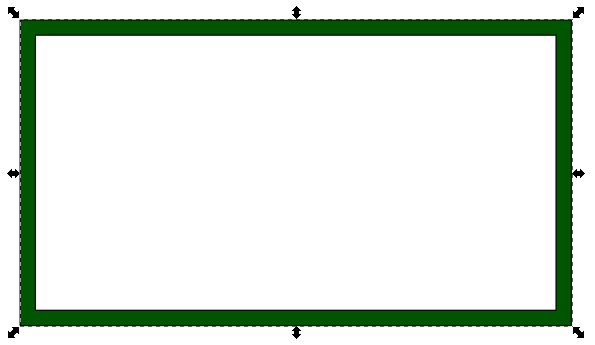
Then, create the border:
|
|

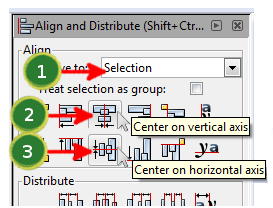
Select both rectangles
Click the ALIGN tool button to open the Align window. 
When the Align Options window opens, center the selection both vertically and horizontally.
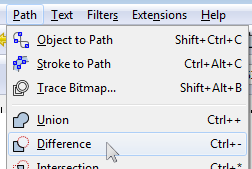
Now, we want to remove the center of the rectangles (which is why we call it the "border").
You should now have this:
|
#2. Grass and SkyAdd basic shapes for grass and sky!

Grass & Sky rectangles overlap with the border. (We will raise the border later.)
|
|
#3. MountainsAdd mountains between the grass and sky.
Make sure your mountains have snow! What you will draw is something like this: 
When you add this to your drawing, it looks like this:
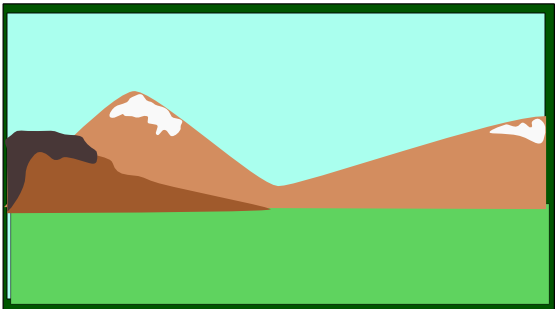
Mountains on top of the border. (We will raise the border later.)
|
|
#4. CityAdd a city-scape with highlights.
Draw a dark blue city:
What you will draw is something like this: 
When you add this to your drawing, it looks like this:
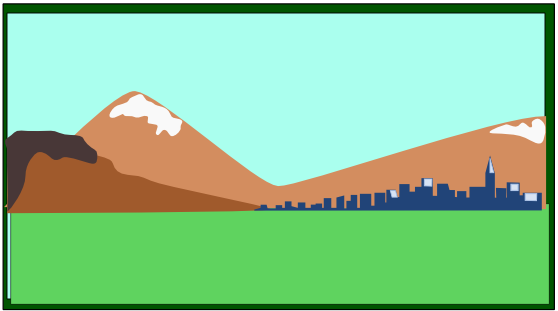
City and other elements still on top of the border. (We will raise the border later.)
|
|
#5. AdjustmentsHow do you make changes?
First, adjust your city and mountains so they aren't floating in the air. At this point, you must change your mountain colors. |
|
#6. RiverAdd a river to the foreground.
What you will draw is something like this: 
When you add this to your drawing, it looks like this:
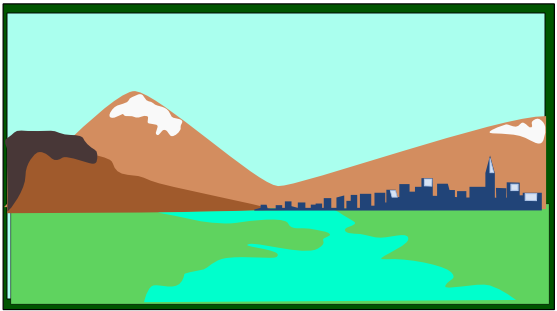
River still on top of the border. (We will raise the border later.)
|
|
#7. PlaneMake the plane too large and then scale it smaller later.

When you add this to your drawing, it looks like this
(and you can also raise your Border layer to the top now): 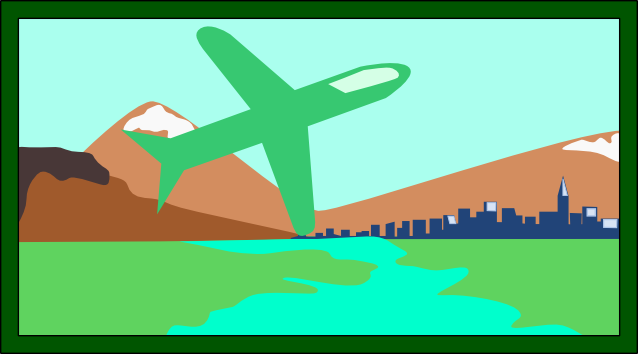
Plane too big still.
Next, select the plane (including highlight) and scale it smaller, like this.
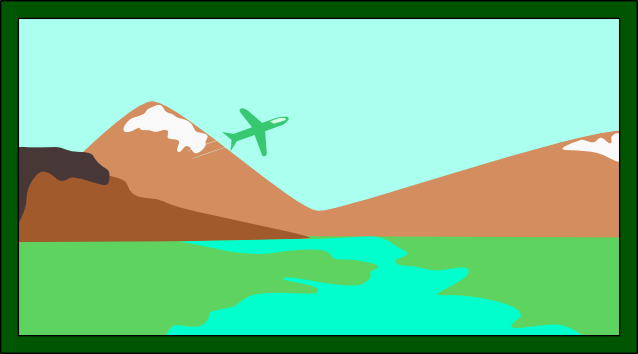
Plane just right. (We can raise the border now!)
|
|
#8. Text and ShadowAdd text (the name of the company).
When the text is selected, apply a shadow filter. --> Filters ----> Shadows and Glows ------> Drop Shadow (Check the "Live Preview" box and experiment! Then click "Apply" to set the shadow.) 
When you add this to your drawing, it looks like this:
|
|
#9. GradientAdd gradient to the sky and grass. (In Inkscape, you can add gradient to anything!)
The gradient button is below the Bezier tool and the "A" text tool and it looks like this: 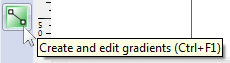
Experiment with clicking-and-dragging to get the effects below (Grass & Sky):
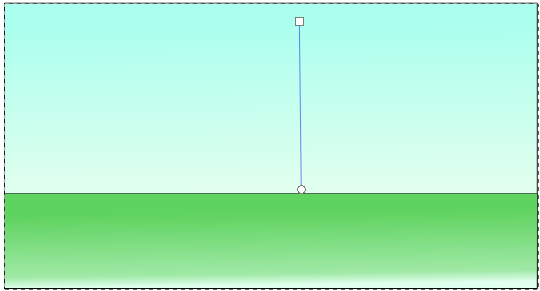
When you add this to your drawing, it looks like this:

|
|
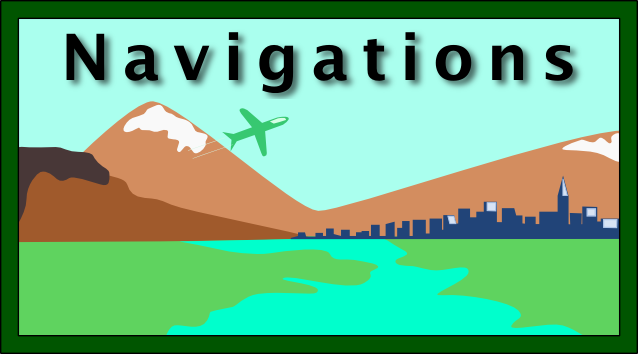
#10. Text On PathIn the LAYERS window,
Now:

When you add this to your drawing, it looks like this:

Finished Product!
|
|
Save + Publish!
- Save this as "activity-4-business-card.svg"
- Choose "Export Bitmap" and then the "Drawing" this file as a PNG file ("activity-4-business-card.png")
- Post both files on your "Vector Graphics" page (Weebly). (The PNG should appear as a picture.)