Scratch Final Project ChoicesStudents may select their final project and must meet the criteria outlined for each one. (see below)
Students will make a new page on their Weebly site, indent the page under your PROGRAMMING page and name the page after video game you choose.
Programming
Pac-Man Marking for the Final Project
A Warning about the Samples BelowIn each of the options below, a sample game is provided. Students are expected to download and look through this sample. However, this is NOT a copy-and-paste activity!
Students are expected to START FRESH with their own final project. Each student is expected to make significant changes to create a unique final project. |
QUESTIONS - Please Answer on your Weebly "Final Project" Page
|
Option #1 - Dress Up Game
Create a girl to be the model.
(Recommend finding a photo of a person and use the GIMP with an "Edge Detect" or "Cartoon" Filter. Edit and save it as a PNG.) Then, create clothing pieces (use the GIMP or Scratch). The Dress Up feature is built into Scratch, so there isn't any programming required for this. If time permits, please try to build both the Basic and Advanced versions. However, you must choose one to start. Mr. Rich found a dress-up game online (here) and modified it to demonstrate the BASIC VERSION (but with only 2 colors). NEW VERSION 5!!!!! (April 23)
Old version 4 below
There is not yet a sample of the ADVANCED VERSION, but you can request one from the teacher. FYI: The original game was found here (warning: sound plays automatically) and can be downloaded below.
|
BASIC VERSION: Create a model (can use GIMP, Photoshop or Scratch). Model must be human (male or female) and have: **updated (Apr17)**
Next, create at least 4 COLOR buttons, so that the color of each item will change when: - First, the color is selected (mouse-click) - Second, the clothing/accessory is selected (mouse-click) You can make this happen with either:
ADVANCED VERSION: Add a MATCH THE MODEL game. The Game Designer must:
Other ADVANCED options:
| |||||||
Option #2 - PAC-MAN
Make your own PAC-MAN game. (Can also be "PAC-WOMAN".)
Start by building the BASIC VERSION and then move on to the ADVANCED VERSION. Also, check out the Google Doodle of PAC-MAN to get some gameplay ideas. (You can draw the objects using either the GIMP or Scratch) Mr. Rich is providing a sample to help you get started.
There's also a completely different game ("escape the box" borrowed from here) that will be helpful here. It uses the same basic Scratch ideas of a changing Stage and movement only "IF TOUCHING COLOR".
Other Pac-Man InstructionsThese instructions are NOT from Mr. Rich.
You may follow them if you wish, but you must customize them and make them your own. I strongly suspect that there may be problems or errors that you will need to deal with. They were found here by one of my students. (Here's a backup of the file, just in case it is deleted.)
Other Youtube Pac-Man InstructionsThere are also instructions for Pac-Man from another teacher on YouTube.
This Pac-Man has a big red dot in front of him. Therefore, we'll call him Rudolph! Link to YouTube Pac-Man Instructions |
BASIC VERSION:
ADVANCED VERSION: May build some or all of these options.
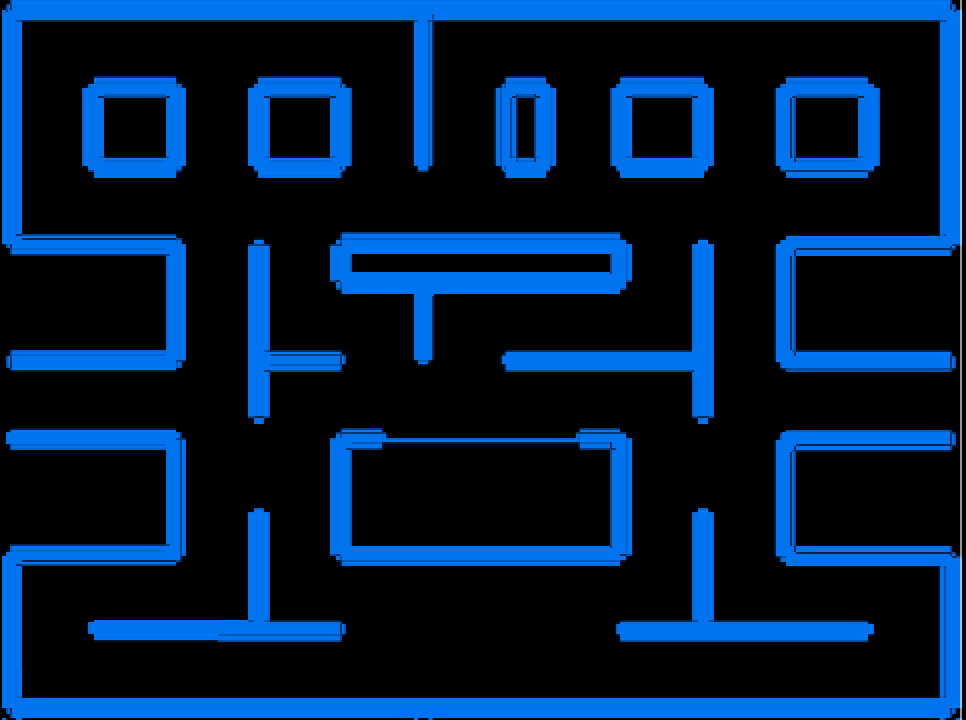
PAC-MAN BackgroundBelow is a sample PAC-MAN background and also a sample game with it included as a BACKGROUND for the STAGE.
| |||||||||||
Option #3 - Space Shooter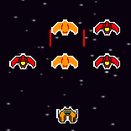
Make your own SPACE SHOOTER game!
Start by building the BASIC VERSION and then move on to the ADVANCED VERSION. (You can draw the objects using either the GIMP or Scratch) The sample game below is very basic (was found here).
In the sample game above, the background (stars) don't move. Check out Mr. Rich's sample of a scrolling background.
|
BASIC VERSION:
ADVANCED VERSION: May build some or all of these options.
| |||||